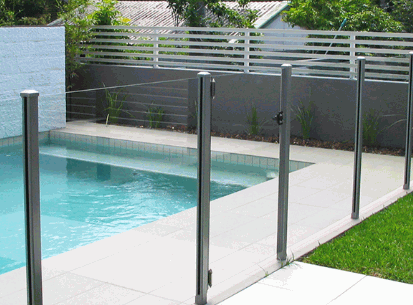
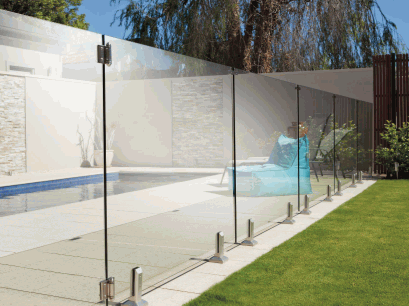
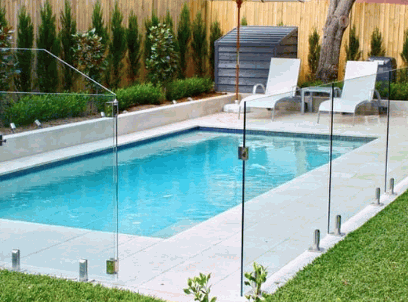
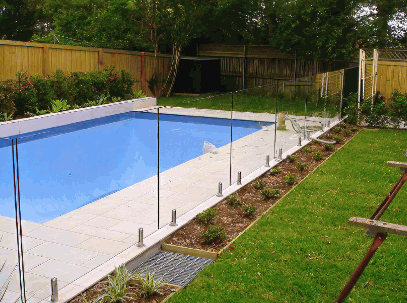
Installing glass pool fencing is essential for safety and beauty. It creates a barrier and adds elegance. Here’s the how-to:
First, review local regulations on pool safety. Then, choose toughened or tempered glass for panels. Edge polishing increases safety.
Measure the area to ensure the correct number and size of panels. Leave room for expansion and contraction.
Mark post locations, dig holes and secure them using concrete. Install each panel carefully, attaching them with stainless steel clamps or fittings. Make sure all panels are level.
For maintenance, clean the glass and inspect for damage. Address any issues promptly.
Follow these steps and you’ll have a stylish, secure pool space. Prioritize safety and stick to local regulations. Enjoy!

Importance Of Glass Pool Fencing
Glass pool fencing is a must for pool safety and security. It’s clear, so you can still admire the pool while keeping children and pets safe. Plus, it adds a touch of elegance and sophistication to your outdoor space.
Glass pool fencing is tough. It’s made of high-quality tempered glass, built to last through harsh weather. So you don’t need to worry about maintenance.
You can customize your fence too. Choose from frameless or semi-frameless designs to get the look you want.
Make your pool area a stunning oasis. With glass pool fencing, you get peace of mind and beauty combined. Take action now and enjoy the benefits of a safe and stylish pool area!
Safety Precautions
- For the secure installation of a glass pool fence, take safety as a top priority!
- Wear protective gloves and goggles to prevent any accidental cuts.
- Use tools that are in good condition and appropriate for the job.
- Follow the manufacturer’s instructions carefully; deviating from these can lead to weak fence structures.
- Keep an eye out for any signs of wear or damage and address any issues immediately.
- Make sure that all safety measures are taken to guarantee optimal security and protection for your loved ones!
Tools And Materials Needed
To install glass pool fencing correctly, you need the right tools and materials. Here is what you will need:
| Glass panels | Measuring tape | Level | Gate | Drill |
|---|---|---|---|---|
| Masonry bit | Spigots or posts | Screwdriver | Anchors or screws | Latches or locks |
| Rubber mallet | Caulking gun | Protective gear (gloves, safety goggles, etc.) |
Follow the manufacturer’s instructions to install it properly. Pay attention to details like alignment with a level, secure anchor points for spigots or posts, and the right screws or anchors for different surfaces. Do it right and take your time! The right tools and materials will help you achieve a beautiful, safe pool area.
Pre-Installation Preparation
- Measure the area. Length and height of the space where you’ll install the fence. This will help you know how many panels and hardware you’ll need.
- Check local regulations. Before starting construction, confirm the safety standards and get any permits/approvals needed.
- Clear the site. Remove any obstacles, like plants, rocks, or other structures that may interfere with the process.
- Mark outpost locations. Put markers or stakes at each spot where a post will go. Make sure they’re equally spaced and aligned.
- Prepare foundations. Dig holes for posts. Follow local regulations and soil conditions. Then fill with concrete mix and insert each post.
Pro Tip: Add decorative elements, like LED lights or custom designs, to make your glass pool fencing look great!
Installing The Glass Panels
Installing glass panels for your pool fencing is key for safety and looks. Follow these steps for a successful installation:
- Clear the area. Make sure there’s no debris or objects. This will give a strong base for the panels.
- Measure and mark. Measure distances between post or support structures, and mark them.
- Put in the posts. Securely anchor posts or support structures into the ground or surface.
- Attach the glass panels. Lift and fit each panel to the marked measurements. Use brackets or clamps to secure them firmly.
You’ve installed the glass pool fencing! Admire its beauty and feel secure knowing your pool area is safe. If you’re not sure about doing it yourself, consult a professional installer. Don’t miss out on transforming your pool area with stylish glass pool fencing – get started now!

Installing The Gate
Ensure a secure and beautiful glass pool fence by installing a flawless gate. Follow these 6 steps:
- Step 1: Securely attach hinges to one side of the gate frame. Align them for smooth opening and closing.
- Step 2: Place the gate and mark where the latch will be. Drill pilot holes carefully to prevent damage.
- Step 3: Attach the latch with precision, matching it with the striker plate on the other post. Test the latch for smooth operation.
- Step 4: Check if the gate swings freely. Make adjustments, so it doesn’t scrape or stick on other surfaces.
- Step 5: Install self-closing hinges for safety compliance. Adjust tension for personal preference, while maintaining proper functioning.
- Step 6: Inspect all hardware for firmness. Tighten loose screws and bolts. Make sure the gate locks securely.
If your installation has unique details, consult a pro for a perfect fit.
Maximize your experience:
- Use a hydraulic closer mechanism for self-closing gates for optimal control and gentle closure.
- Get a gate with a key lock or combination lock system to restrict access to authorized persons.
- Inspect and lubricate gate components regularly for smooth operation.
These suggestions optimize security and function within your glass pool fencing installation, while also adding beauty.

Finishing Touches
Finishing touches are essential for installing glass pool fencing!
- Hardware: Get gate hinges and latches for smooth functioning.
- Decorations: Make it look nice with accents like finials or trim.
- Protection: Seal the glass panels against weather damage.
- Maintenance: Give customers a guide for cleaning and upkeep.
Plus, you can offer custom colors or patterns for hardware pieces. Inspections are also important – to spot any issues early on.
Fun Fact: Glass pool fencing can raise property value by up to 7%, says HomeAdvisor!

Maintenance Tips And Troubleshooting
For the longevity of your glass pool fencing, follow these maintenance tips and troubleshoot issues:
- Clean regularly with a mild soap solution and a soft cloth.
- Check for cracks, chips, and loose fittings. If you find any, contact a professional.
- Keep metal components rust-free with a rust-resistant coating or lubricant.
- Protect from harsh weather with a protective coating or sealant.
- Avoid abrasive cleaning materials as they can cause scratches.
- Schedule regular professional inspections and maintenance checks for optimal performance and safety.
Dig Deeper: How To Get Rid Of Stain On Vinyl Fencing
Conclusion
Installing glass pool fencing requires careful planning and the correct tools. This guide will help you ensure a professional and secure installation.
First, measure and mark out the area for the glass panels. This will ensure accurate placement.
Next, dig holes for the support posts, deep enough for stability but not too deep.
Once the holes are dug, add the support posts and fill them with concrete. Allow time for the concrete to set. This is vital for a strong foundation.
After the concrete has cured, attach the brackets to the posts and carefully slide the glass panels into place. Check the alignment as you go to maintain consistency. Secure each panel with screws or other appropriate hardware.
Finally, add any finishing touches such as gate hinges, latches, and handles. These components not only provide function but also improve the look of your glass pool fence.
Pro Tip: Before beginning, check local regulations and building codes for pool fencing requirements. Make sure your project meets safety standards in your area.
Plan and execute carefully, and you can have a secure and stylish glass pool fence that looks great and provides safety.
 My name is Stacey Reid the senior author at Art Syndicate. I enjoy everything homely and everyday I am amazed at the creativity that I find on the internet to write about and the items that I find to sell to our visitors. I cannot however find everything out there as it is very time consuming so please come and take the time to tell us about something new if you think our visitors would like it.